
in your backyard
Introduction
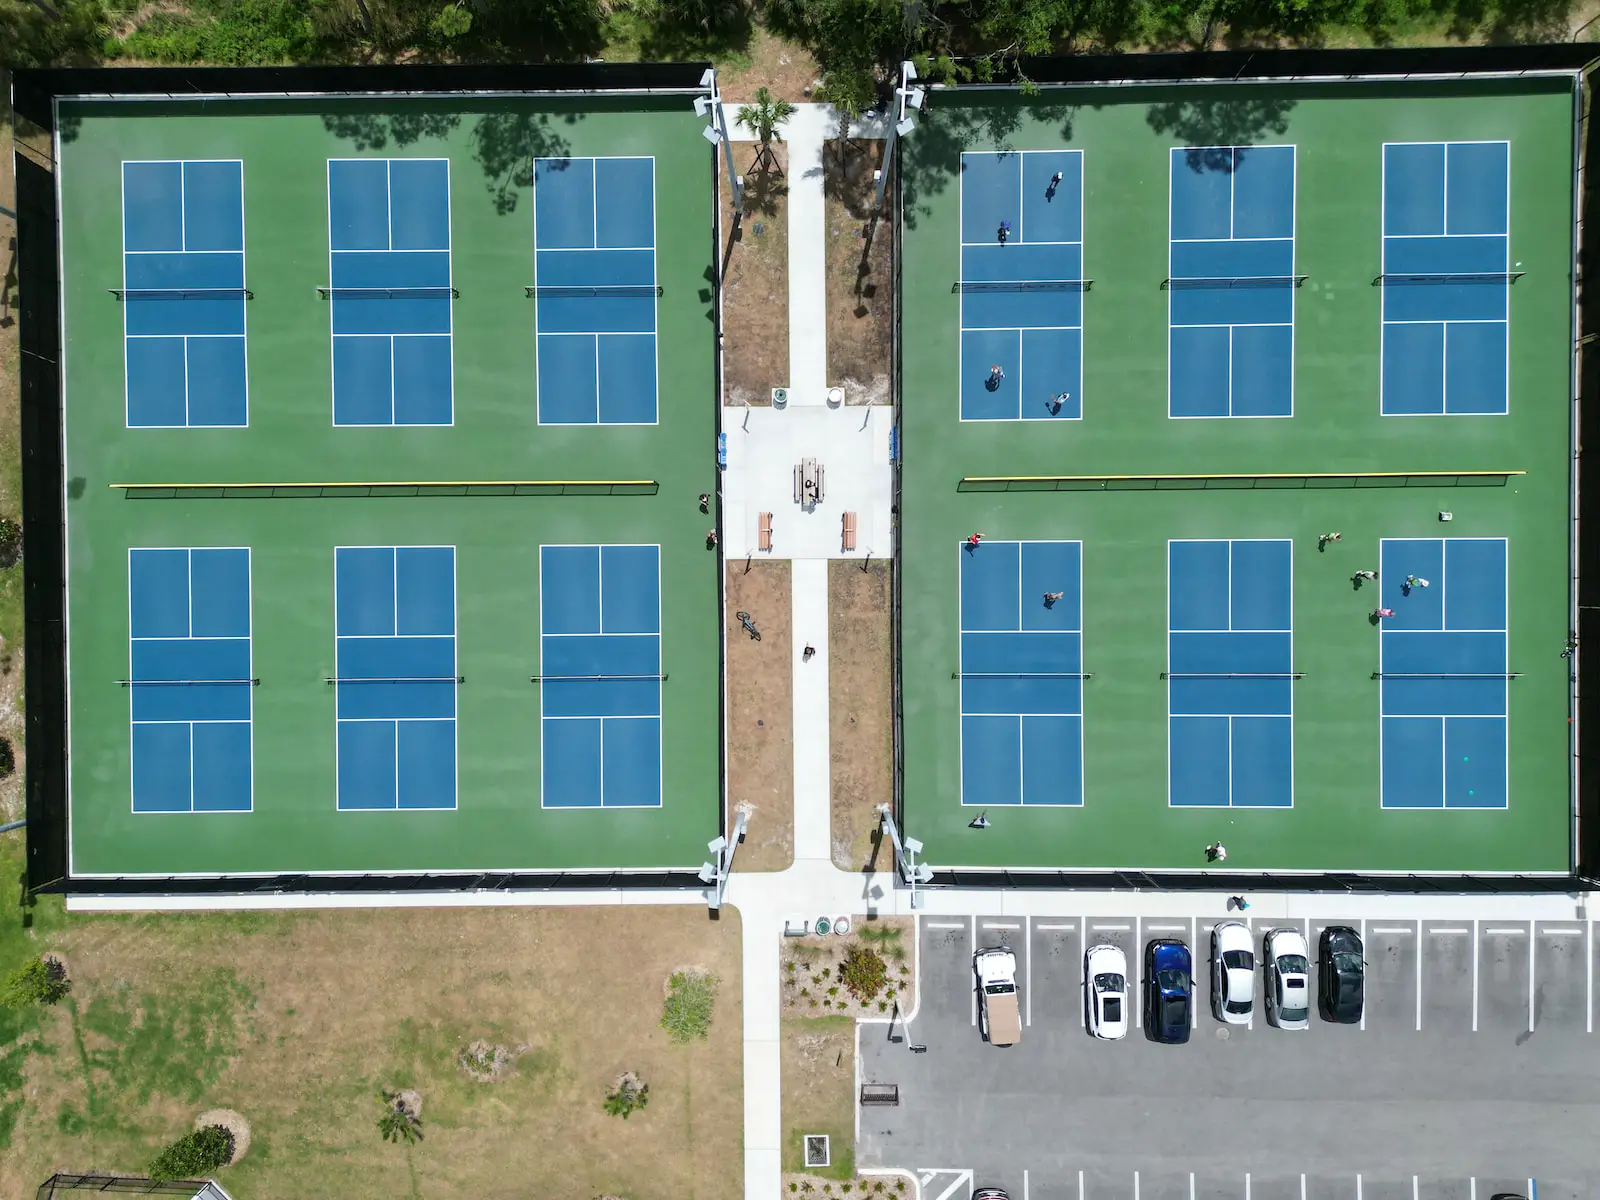
Are you an avid pickleball player looking for a more convenient way to get your game on? Building a Pickleball court in your backyard is one of the best ways to achieve this. Not only will it give you easier access to playing, but it will also provide hours of entertainment and fun for family and friends alike. For those who may not be familiar with building courts, we’ll go through all the steps necessary to construct a regulation-sized court.
Survey Your Landscape
The first step to take when planning out how to build Pickleball Court in your backyard is surveying the land that you have available. This includes measuring both the length and width so that you can accurately assess what size court will fit within these parameters and how much space there is around it for other elements such as fencing or seating areas. It’s important that whatever size court you decide upon is large enough for two players without being too big where it takes up too much of your yard space.
Choose Materials
When choosing materials, consider durability over cost as high quality materials are essential if you want the court to last over time – especially since outdoor courts are exposed to rain, heat and wind which can damage surfaces quickly if they aren’t properly constructed from reliable materials. Hardwood flooring is usually the most common choice because not only does its texture make it easy for balls bounce off of but also provides good grip when players are running around during gameplay making it safer than other types of surface material like concrete or asphalt which can become slippery when wet or hot respectively. Additionally, hardwood flooring also helps reduce noise levels compared with concrete/asphalt which makes them ideal if neighbours live nearby!
Make Markings
Once all measurements have been taken care of and chosen materials acquired (or ordered) then next step would be actually marking out where each line should go on what eventually be our finished product – The PickleBall Court! It’s important not just mark any lines onto randomly spot on ground; instead use chalk/paint make sure markings precise according keep official regulations set forth by USAPA (USA Professional Association Of Pickleball). To begin simply measure 7′ x 20′ rectangle using tape measure draw straight lines along edges using either chalk paint depending preference desired effect result once everything has dried up after construction complete
Lay Down Foundation & Install FencingWith our ground marked up next task involves laying down foundation before installing fencing ensure level playing field stable base supporting structures placed top After ensuring soil beneath leveled fill gaps between boards sandbags hold them place while cemented concrete poured into holes Once this done leave dry overnight before starting fence installation process There several different types fences choose include chain link mesh wood vinyl plastic etc Each their own advantages disadvantages so research beforehand figure out which best suit needs budget Finally secure posts firmly into ground using screws bolts make sure no part touching actual marked area could interfere game play Lastly attach netting across entire side order complete project
“Building a Pickleball Court in your Backyard” doesn’t have be daunting endeavor With right tools knowhow anyone capable creating regulation sized court no matter skill level involved A little patience some elbow grease goes long way creating great addition home look forward years come.